Searing is a crucial cooking technique that involves the application of intense heat to the surface of food. This procedure, most commonly employed with meat, triggers a series of reactions known as the Maillard reaction, transforming the flavor, texture, and visual appeal of dishes. This in-depth exploration of searing will provide a nuanced understanding of its role in the culinary world.
The Science Behind Searing: Unleashing the Maillard Reaction
At the heart of searing lies the Maillard reaction, a complex chemical process involving amino acids and reducing sugars in the food. Named after the French chemist Louis-Camille Maillard, this reaction occurs when food is heated typically above 140°C (284°F), leading to the formation of hundreds of different flavor compounds that give seared food its unique, rich, and complex flavor profile.
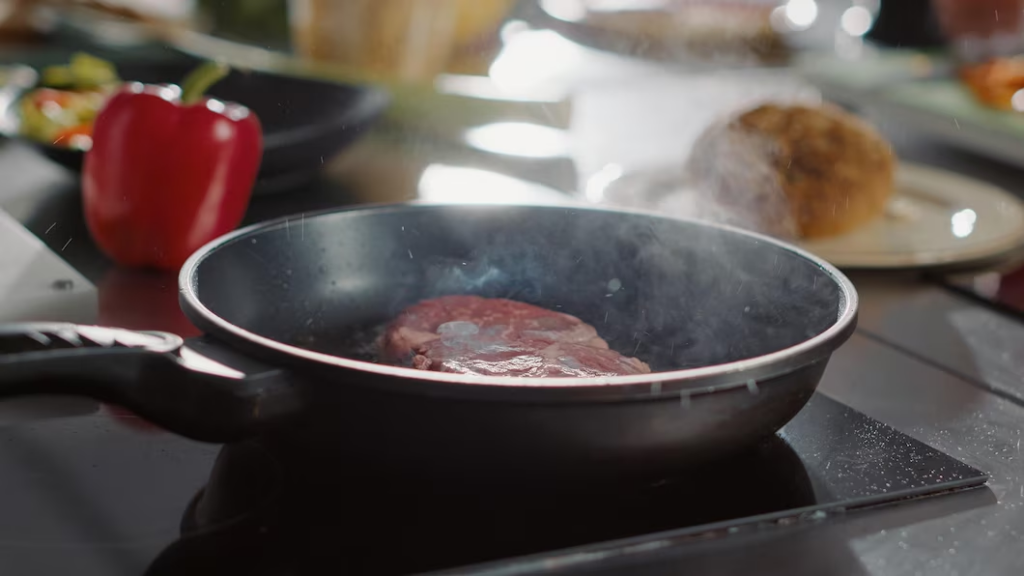
In searing, the high heat quickly dries out the surface of the food, allowing the Maillard reaction to take place more efficiently. The browning that occurs during searing is a visual cue of the Maillard reaction, as the sugars and proteins rearrange themselves and produce melanoidin compounds, which give seared foods their distinctive brown color.
Tools for Searing: Essentials for Achieving the Perfect Sear
A few key tools and ingredients can optimize the searing process, ensuring that the food is cooked evenly and acquires an appealing crust.
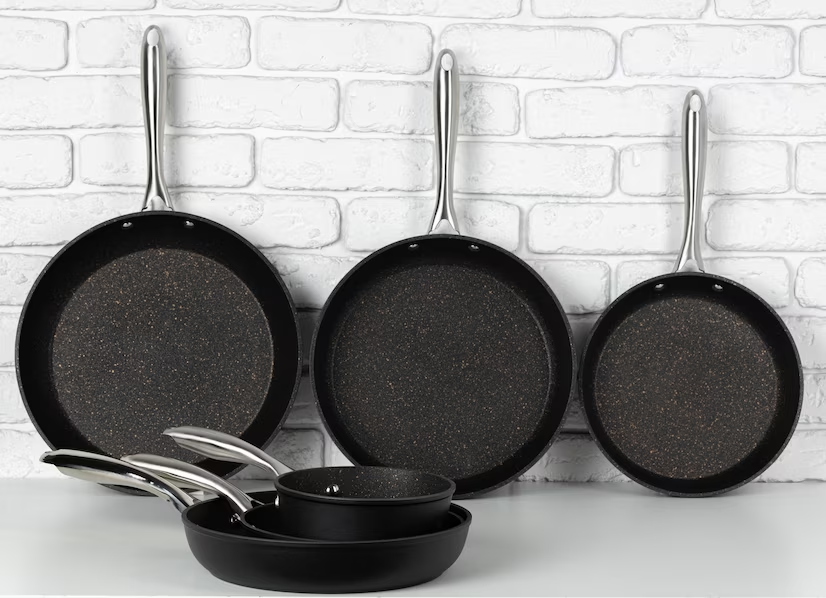
- A Heavy Pan: Choose a heavy pan made of materials that conduct heat well. Cast iron pans, stainless steel pans with an aluminum or copper core, or tri-ply pans are ideal as they hold and distribute heat evenly;
- High Smoke-Point Oils: Different oils have different smoke points – the temperature at which they start to smoke and break down. For searing, oils with a high smoke point like avocado oil, safflower oil, or refined canola oil are ideal. These oils can withstand high cooking temperatures without smoking or breaking down, which could impart an unpleasant flavor to your food;
- Kitchen Tongs: These allow for secure handling and turning of the food being seared, ensuring even browning;
- Meat Thermometer: This tool helps to ensure food safety and precise cooking by allowing you to check that meat is cooked to the appropriate internal temperature;
- Oven: For larger cuts of meat, an oven will be necessary to finish cooking after searing.
The Searing Process: An Step-by-Step Guide
The process of searing is intricate but straightforward, with each step building towards a perfectly seared piece of food.
| Step | Instructions |
|---|---|
| Preheat the Pan | Begin by preheating your pan over medium-high heat. The pan needs to be sufficiently hot for effective searing, but not so hot that the oil smokes excessively and imparts a burnt flavor. |
| Prepare the Food | While the pan is heating, prepare your food. For meats, pat them dry with paper towels to remove any surface moisture. Excess moisture can interfere with the Maillard reaction and result in steaming rather than searing. Once dry, season as desired. |
| Add Oil | After the pan is hot, add a thin layer of oil. Allow it to heat until shimmering but not smoking. |
| Start Searing | Place the food in the pan, ensuring that pieces do not touch. Overcrowding the pan can lower the pan’s temperature too much and cause the food to steam rather than sear. |
| Don’t Move the Food | Let the food sear undisturbed for a few minutes. This period allows a crust to form, enhancing the food’s flavor and texture. |
| Check for Sear | After a few minutes, gently lift a corner of the food to check for a golden-brown crust. If it’s formed, flip the food and sear the other side. |
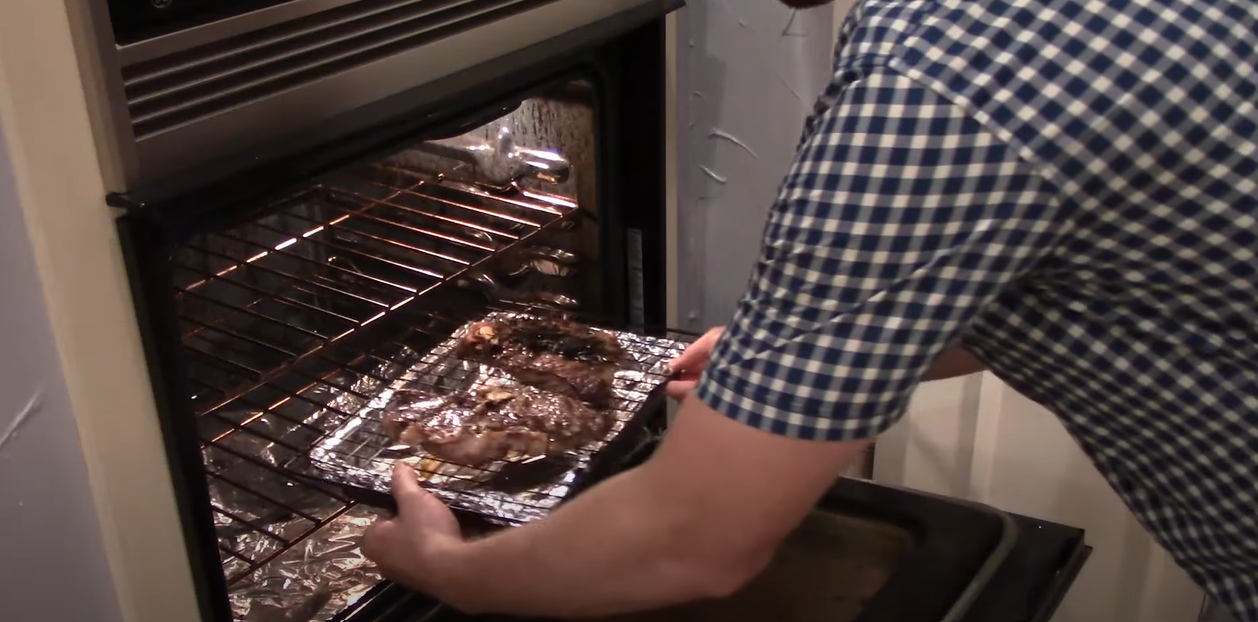
| Finish Cooking | For thicker cuts of meat, the searing process won’t be enough to cook the meat thoroughly. To finish the cooking process, transfer the pan or meat to a preheated oven. The length of time needed in the oven will depend on the type and size of the meat. |
Table 1: Example Searing Times and Oven Temperatures
| Food Type | Sear Time (each side) | Oven Temperature | Oven Time |
|---|---|---|---|
| Steak (1-inch thick) | 2-3 minutes | 375°F (190°C) | 4-6 minutes |
| Chicken breast (boneless, skinless) | 3-4 minutes | 375°F (190°C) | 20-25 minutes |
| Pork chop (1-inch thick) | 3-4 minutes | 375°F (190°C) | 10-15 minutes |
Searing Variations: Expanding Your Culinary Techniques
Beyond basic searing, there are other variations of this technique that can provide different outcomes, particularly for larger cuts of meat.
- Reverse Searing: This method involves cooking the food slowly at first, usually in an oven at a low temperature, then searing it in a hot pan for a final flavor boost. This technique is particularly good for larger cuts of meat where standard searing might result in the outer layer being overcooked by the time the center is done;
- Pan-Seared Oven Finish: This technique involves first searing the food on the stovetop to develop a crust, then finishing the cooking process in the oven. This is a common method used for thick steaks or roasts that require longer cooking times;
- Basting: During the searing process, spoon hot butter or other cooking fats over the food to flavor it and encourage even cooking.
The Searing Myth: Does It Really Seal in Juices?
A widely held belief is that searing meat seals in juices, thereby retaining its moisture during the cooking process. This has, however, been debunked by food scientists, including Harold McGee in his seminal work “On Food and Cooking.” Searing does not create a moisture-proof barrier around meat, and cooked meats’ moisture loss is due to the heat causing muscle fibers to contract and push water out. What searing does accomplish, however, is the amplification of flavor through the Maillard reaction.
Conclusion
Searing is a fundamental cooking technique that plays a significant role in the culinary world. By subjecting food to intense heat, the Maillard reaction is unleashed, resulting in the development of a rich, complex flavor profile. The searing process involves preheating a heavy pan, using high smoke-point oils, and employing essential tools like kitchen tongs and a meat thermometer. A step-by-step guide ensures the perfect sear, while variations such as reverse searing and pan-seared oven finish offer different outcomes for larger cuts of meat. Despite the common misconception of searing sealing in juices, its true value lies in amplifying flavor. While searing is commonly associated with meat, vegetables can also benefit from this technique, enhancing their taste through caramelization. Overall, understanding the significance and techniques of searing empowers cooks to elevate their culinary creations.
FAQ
While all types of meat can benefit from searing, it’s particularly beneficial for larger and thicker cuts, such as steaks, pork chops, and chicken breasts.
Oils with a high smoke point are ideal for searing. These include avocado oil, refined canola oil, or safflower oil, among others.
The oil should be shimmering but not smoking. If the oil starts to smoke excessively, reduce the heat slightly.
If the food sticks to the pan, it’s likely not seared enough. Leave it for another minute, and it should release naturally.
Absolutely! Searing can help caramelize the natural sugars in many vegetables, significantly enhancing their flavor.