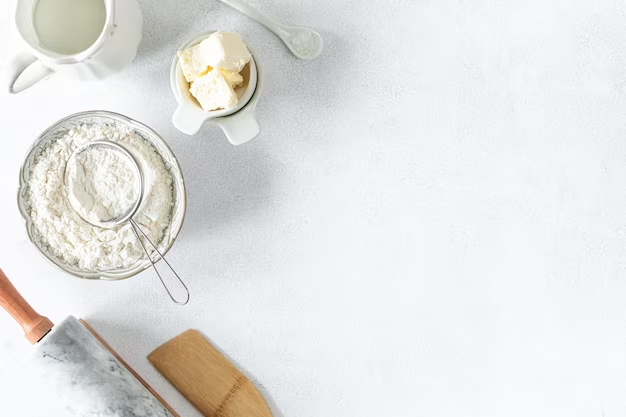
The cut-in method, a cornerstone of pastry making, is a pivotal technique in baking, integral to the creation of tender, flaky pastries. This technique involves mixing a solid fat—like butter, shortening, or lard—into flour and other dry ingredients until the mixture forms small clumps, resembling breadcrumbs. In this comprehensive exploration, we’ll delve deep into the intricacies of this critical culinary procedure.
A Closer Examination of the Cut-In Method
The cut-in technique influences the texture of baked goods by altering how gluten forms in the dough. Gluten, a protein found in wheat, is responsible for providing structure to baked goods. When you mix flour with liquid, gluten begins to form, giving the dough its elasticity. By coating flour particles with fat before adding any liquid, we limit gluten development, resulting in a tender and flaky texture, a characteristic found in pastries such as pie crusts, scones, biscuits, and shortbread cookies.
Table 1: Various Fats Used in Cut-In Method and their Properties
| Fat Type | Flavor | Texture |
|---|---|---|
| Butter | Rich, creamy | Tender |
| Shortening | Neutral | Flakier than butter |
| Lard | Slightly savory | Similar to shortening, very flaky |
Detailed Steps for Executing the Cut-In Method
The cut-in method might appear daunting, but by following these detailed steps, you can master this art with ease:
- Measure the ingredients accurately: Precise measurements are paramount. The ratio of fat to flour can vary, depending on the recipe, but a common one is 2:1 flour to fat;
- Chill the fat thoroughly: The fat should be cold. Slice it into small cubes and return them to the fridge until required. This process prevents the fat from melting too quickly during the cut-in process, allowing for a desirable flaky texture;
- Incorporate the fat with the flour: Combine the fat with the flour. Use a pastry blender or two knives in a crossing manner to cut the fat into the flour. It’s vital to remember that the goal is not to blend or cream the fat entirely but to break it into smaller pieces covered with flour;
- Blend to the desired consistency: Continue blending until the mixture resembles coarse breadcrumbs or peas. A few larger pieces are fine, as they will melt during baking and create pockets, leading to the flaky texture we desire;
- Introduce liquid, if required: If the recipe calls for a liquid, use ice-cold water. Add it gradually, mixing just until the dough begins to clump together. Overmixing will lead to the development of more gluten, yielding a tougher texture.
Unveiling Recipes that Use the Cut-In Method
The cut-in method is a widely used technique in baking, and it offers various textures and flavors in the finished baked goods. Let’s explore some examples of recipes that utilize the cut-in method:
Pie Crust
Pie crusts are renowned for their classic, flaky texture, and the cut-in method is essential in achieving this desired outcome. By cutting the fat (usually butter or shortening) into the flour, small pockets are formed within the dough. During baking, these pockets release steam, resulting in layers within the crust. This technique ensures a deliciously flaky and tender pie crust.
Scones
Scones are beloved for their tender crumb, and the cut-in method plays a crucial role in achieving this characteristic. When preparing scone dough, the butter is cut into the dry ingredients, such as flour, sugar, and baking powder. The incorporation of butter in this manner creates a slightly crumbly texture in the dough. As the scones bake, the butter melts, contributing to the tenderness of the final product.
Biscuits
American-style biscuits, similar to pie crusts, require a flaky and layered texture. The cut-in method is employed to achieve this desired outcome. By cutting cold fat, such as butter or lard, into the flour mixture, pockets of fat are distributed throughout the dough. During baking, the fat melts and creates steam, causing the dough to rise and form distinct layers. The result is a light and fluffy biscuit with a delectable flakiness.
Shortbread cookies
Shortbread cookies owe their rich, crumbly texture to this method. The butter is cut into the sugar and flour, and as it bakes, it creates a tender, crumbly cookie.
Conclusion
Mastering the cut-in technique is a fundamental step towards becoming proficient in the baking world. It holds the secret to the delightfully light, flaky textures of various pastries, turning simple ingredients into delectable creations. With time, patience, and practice, you can perfect this art, taking your baking skills to new heights. Remember that the beauty of baking lies in the process itself, so enjoy each step, and the delicious rewards will surely follow.
FAQ
As with any technique, you might encounter challenges when using the cut-in method. Let’s tackle some potential issues and frequently asked questions:
A common cause for tough pastries is overworking the dough, which develops more gluten and results in a tougher texture. It’s best to handle the dough minimally.
Yes, a food processor can expedite the process. However, ensure to use the pulse setting to prevent overworking the dough. Continuous, long processing might lead to a pasty mixture where the fat is too thoroughly mixed in.
While a pastry blender is a handy tool, it’s not the only implement you can use. Two knives can be used in a crossing manner, or even your fingertips can do the job. If using your hands, ensure they’re cold to prevent the fat from melting prematurely.
Once the mixture resembles coarse breadcrumbs or small peas, you’ve achieved the right consistency. A few larger chunks are acceptable—they’ll contribute to the final flakiness.
